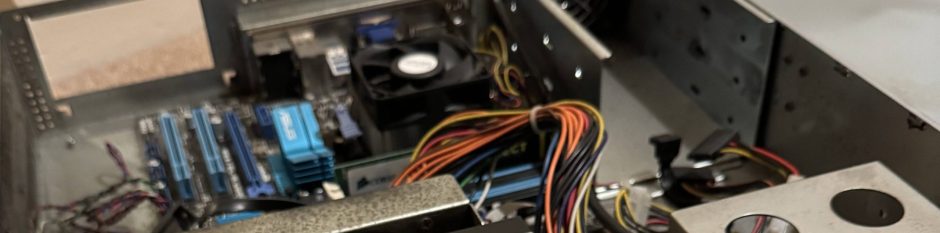
We already know we’re using one of those eBuyer value cases as a starting point. The first thing to do was strip out all the internals – we just needed the bare case. It was pretty simple to dismantle as almost all of it unscrewed.
Next, the reinforcement I mentioned in the previous post. This was a 3mm x 25mm steel strip which was cut and epoxied to the bottom. Strategically placed, they raise the PMPs off the bottom slightly. Combined with 20mm standsoffs there is enough space for the connectors underneath. Those are just standard PC-modder parts wired together as specified in the diagram from the last post.
The drives are not screwed in, they just rest there – connectors down. To prevent them from falling over, there is a grid at the top. This was made by combining 1mm x 3mm steel strips with some dowels. Strangely, the dowel of this size was difficult to find at a reasonable price, so we ended up using 2mm diameter polyester fibreglass rods. For vibration dampening, the only thing is rubber washers securing the PMPs.
Holes in the front for the fans and the case is complete (almost). Unnecessary, but for the cool factor we wired up LEDs for each drive. The PMPs come with pin outs for the PMP status as well as each drive. Quite a lot of effort to connect so many LEDs (the right way round), but a good indicator when switching on the case.
Hi there. My name is Jadon and I am interested in making my very own NAS (in a nutshell) I read your article and I can really use your help. I can pay you what ever you wish for your knowledge and personal help. My email is ——————– I truly hope you respond and consider working with me. Thank you.